types and functions of non-九游会登录
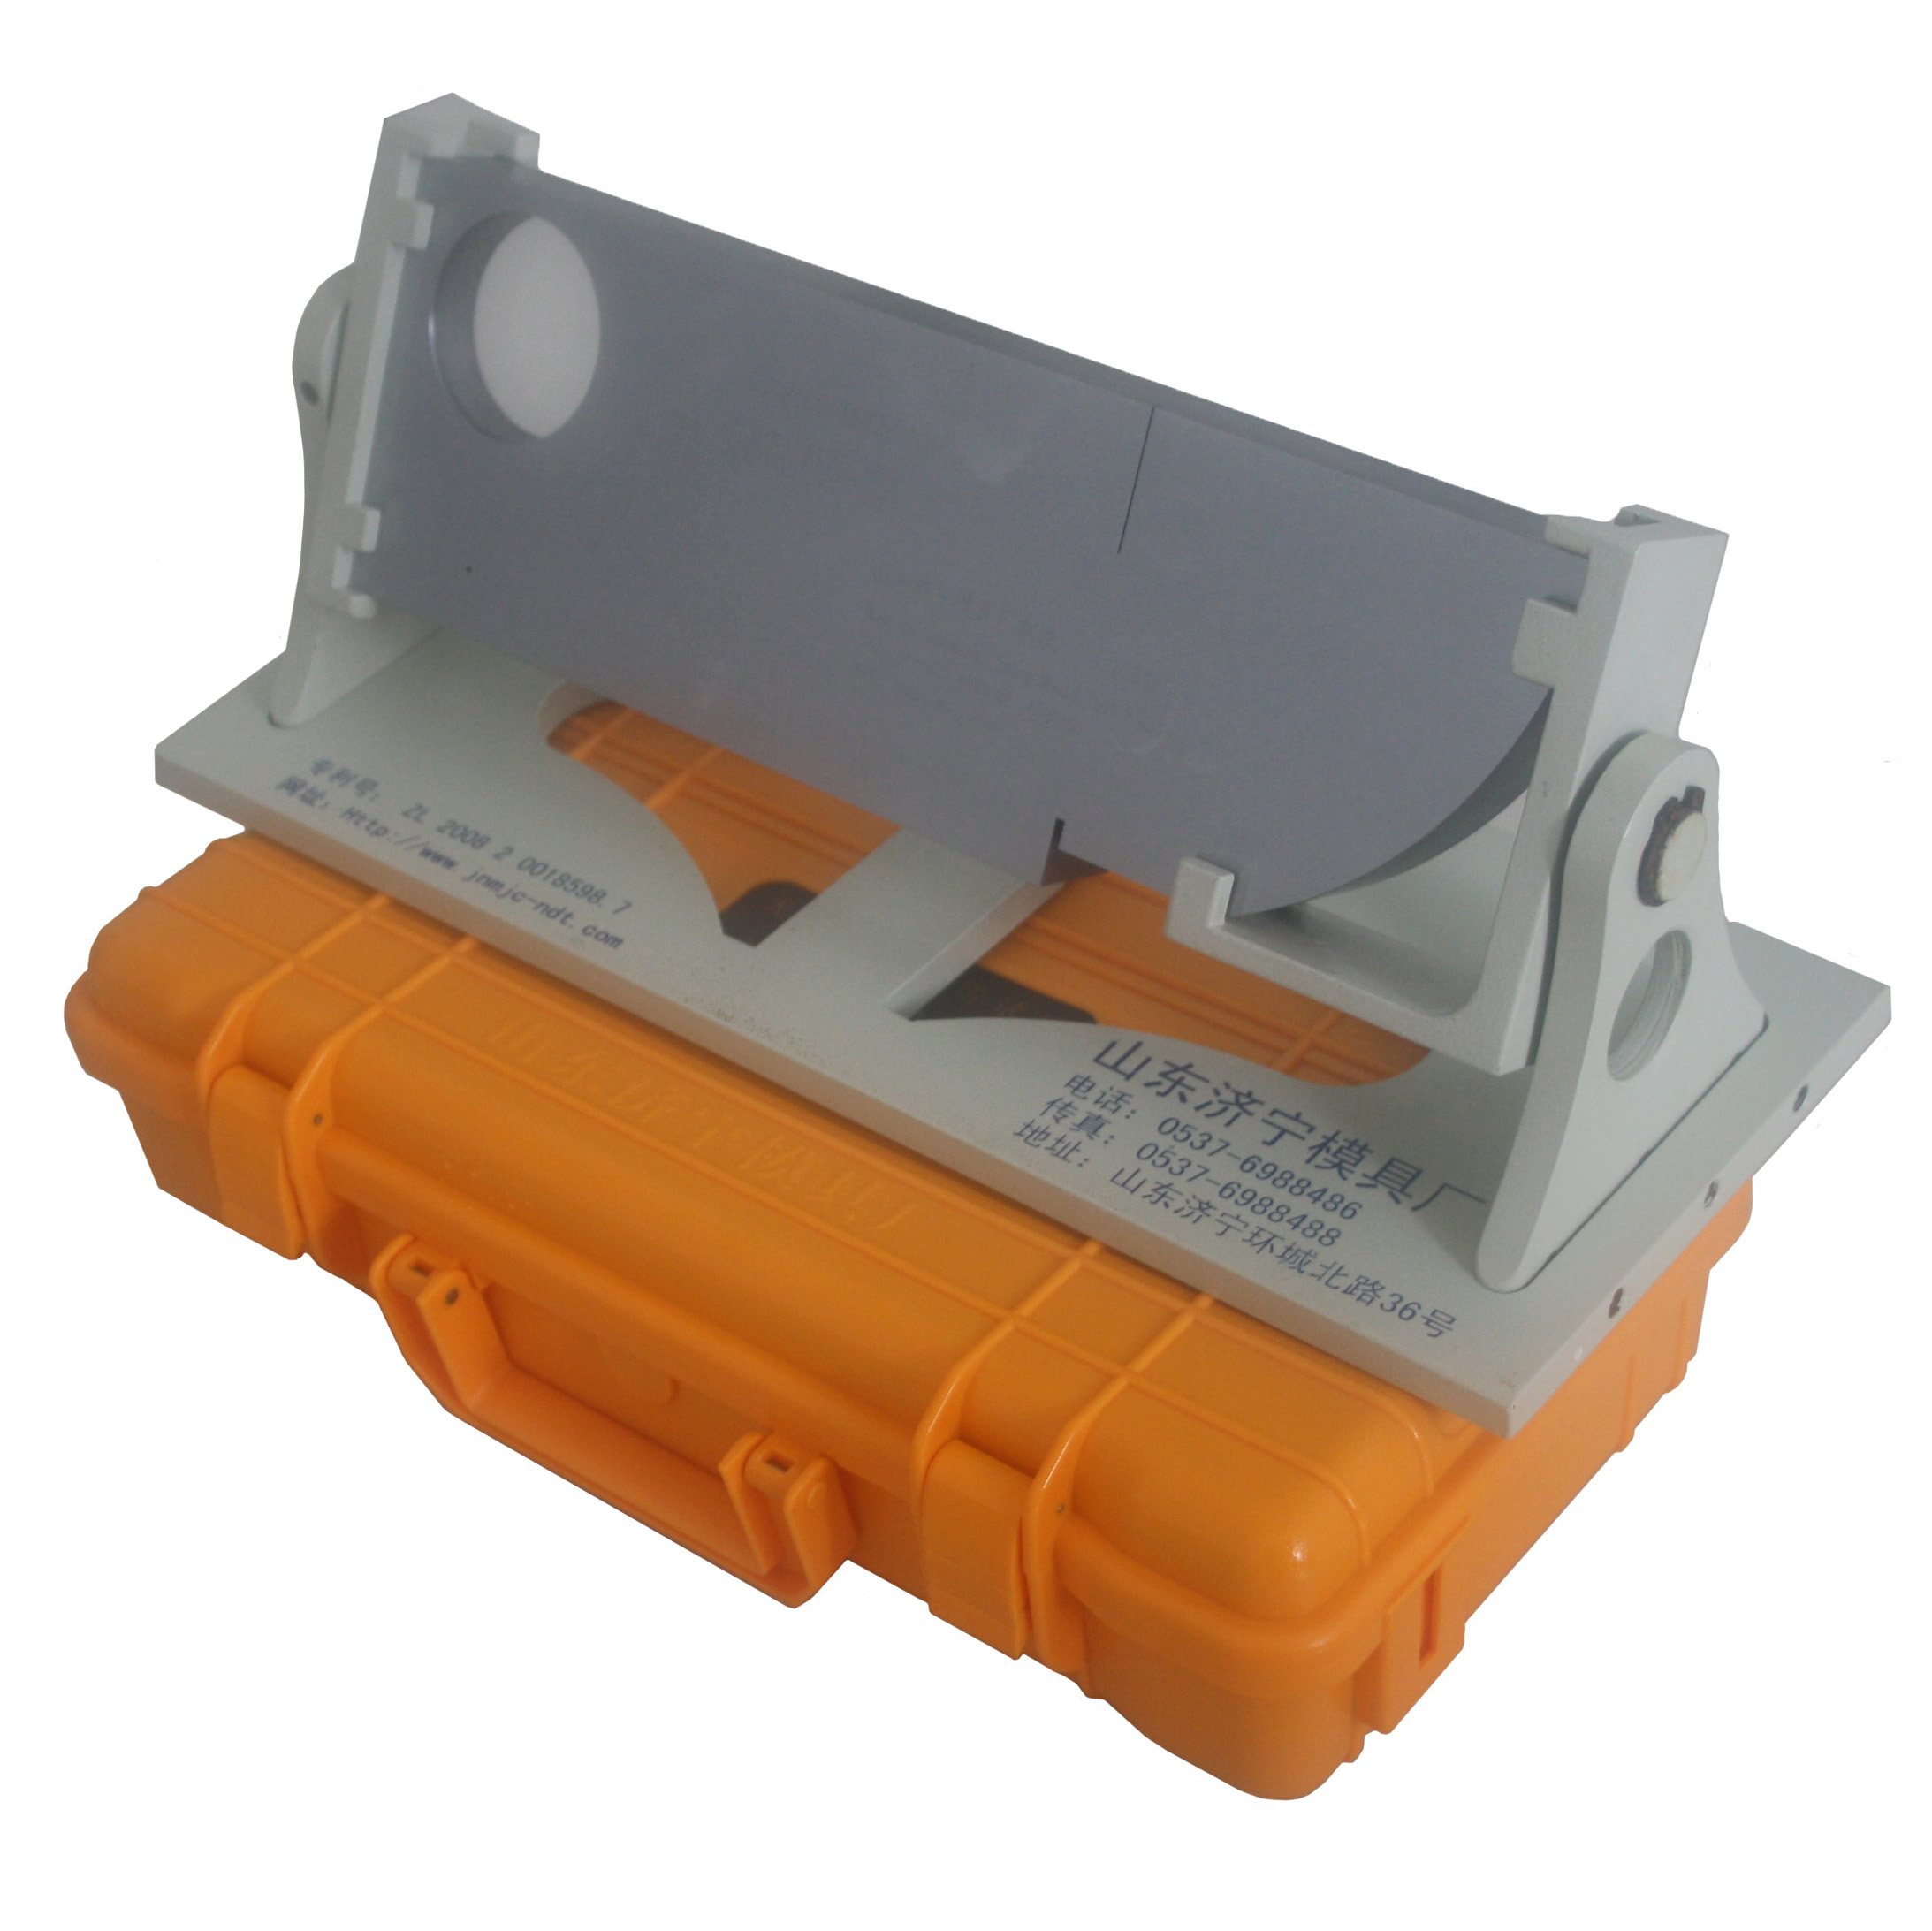
the test block is one of the important equipment for ultrasonic testing. in the process of pulse reflection ultrasonic testing, the quality of the tested material or workpiece is characterized by the static and dynamic characteristic variables of the reflected echo position, height, and waveform on the instrument's fluorescent screen. however, the acoustic relationship between these variables and defects is very complex, and there are also various influencing factors such as instruments and probes, materials or workpiece materials, and bonding conditions. therefore, the qualitative, quantitative, and positioning tasks of defects cannot be completed solely by adjusting the relevant knobs and simple calculation results on the instrument. therefore, the method of comparing the variables detected by the instrument with the known signal quantities at the corresponding positions of known simple shaped artificial reflectors is used for evaluation. by using the echoes of these artificial reflectors on the fluorescent screen as a scale to measure the reflected echoes of defects in the tested material or workpiece, and thus evaluate its quality. we refer to these artificial reflectors with specific shapes designed and manufactured for specific purposes as test blocks.
purpose of the test block
1. determine detection sensitivity
detection sensitivity is a comprehensive indicator of the instrument and probe. ultrasonic testing sensitivity is not good if it is too high or too low. if it is too high, there will be many noise waves, making it difficult to determine the damage. if it is too low, it will lead to one missed inspection. before testing, the detection sensitivity of the instrument and probe combination should be determined according to the standard. after determining the detection sensitivity, use a specific artificial reflector on the test block to adjust the detection sensitivity.
2. testing and verifying the performance of instruments and probes
some important properties of ultrasonic flaw detectors and probes, such as vertical linearity, horizontal linearity, dynamic range, sensitivity margin, resolution, blind spot, probe incidence point, k-value, etc., are tested using test blocks.
3. adjusting the scanning speed (calibration)
the use of test blocks can adjust the proportional relationship between the horizontal scale value on the instrument's oscilloscope screen and the actual sound path, that is, the scanning speed, in order to locate defects.
4. evaluate the size of defects
one of the commonly used quantitative methods for defect quantification is to use the distance wave amplitude equivalent curve (i.e. practical avg) drawn from certain test blocks. especially for defects within 3n, using the test block comparison method is still the most effective quantitative method. in addition, test blocks can also be used to measure the sound velocity, attenuation performance, etc. of materials.
classification of test blocks
there are many types of test blocks, and they can be divided into different categories from different perspectives.
1. classification based on the degree of standardization of test blocks
according to the degree of standardization of test blocks, they can be divided into standard test blocks and comparison test blocks:
standard test block: the standard huai test block is a test block formulated by authoritative institutions, and the material, shape, size, and surface state of the test block are uniformly specified by authoritative departments. both international standard test blocks and national standard test blocks from various countries are standard test blocks. for example, iiw1 test blocks and iiw2 test blocks from the international welding society, as well as csk-ia test blocks from china and stb-g test blocks from japan.
(2) comparison test block: a comparison test block, also known as a reference test block, is a test block that is specified by various professional departments according to the specific requirements of the test object, including material, shape, size, and surface condition. there is no essential difference between the comparison test block and the standard test block. for example, cs-1 test block, csk-1a test block, etc.
2. classification based on the shape of artificial reflectors on the test block
(1) flat bottom hole test block: generally, flat bottom holes with a flat bottom surface are machined on the flat bottom hole test block, such as cs-1 and cs-2 test blocks.
(2) cross hole test block: the cross hole test block is machined with long or short horizontal holes parallel to the detection surface, such as csk-ia (long horizontal hole) and csk-ia (short horizontal hole) test blocks in weld inspection.
(3) groove test block: the groove test block is machined with triangular or rectangular grooves, such as the test block used in seamless steel pipe flaw detection. the inner and outer circular surfaces are machined with triangular grooves.
3. classification by purpose
according to the purpose of the test block, it can be divided into validation test blocks and sensitivity test blocks.
(1) validation test block: a test block used to test and validate the technical performance indicators of a flaw detection instrument, called a validation test block. the iiw test block is a validation test block. validation test blocks often use their specific edges as reflective surfaces, so these test blocks often do not have artificial defects. in general, it is also called a quantitative test block. generally, the comparison test block is used as a sensitivity test block.


